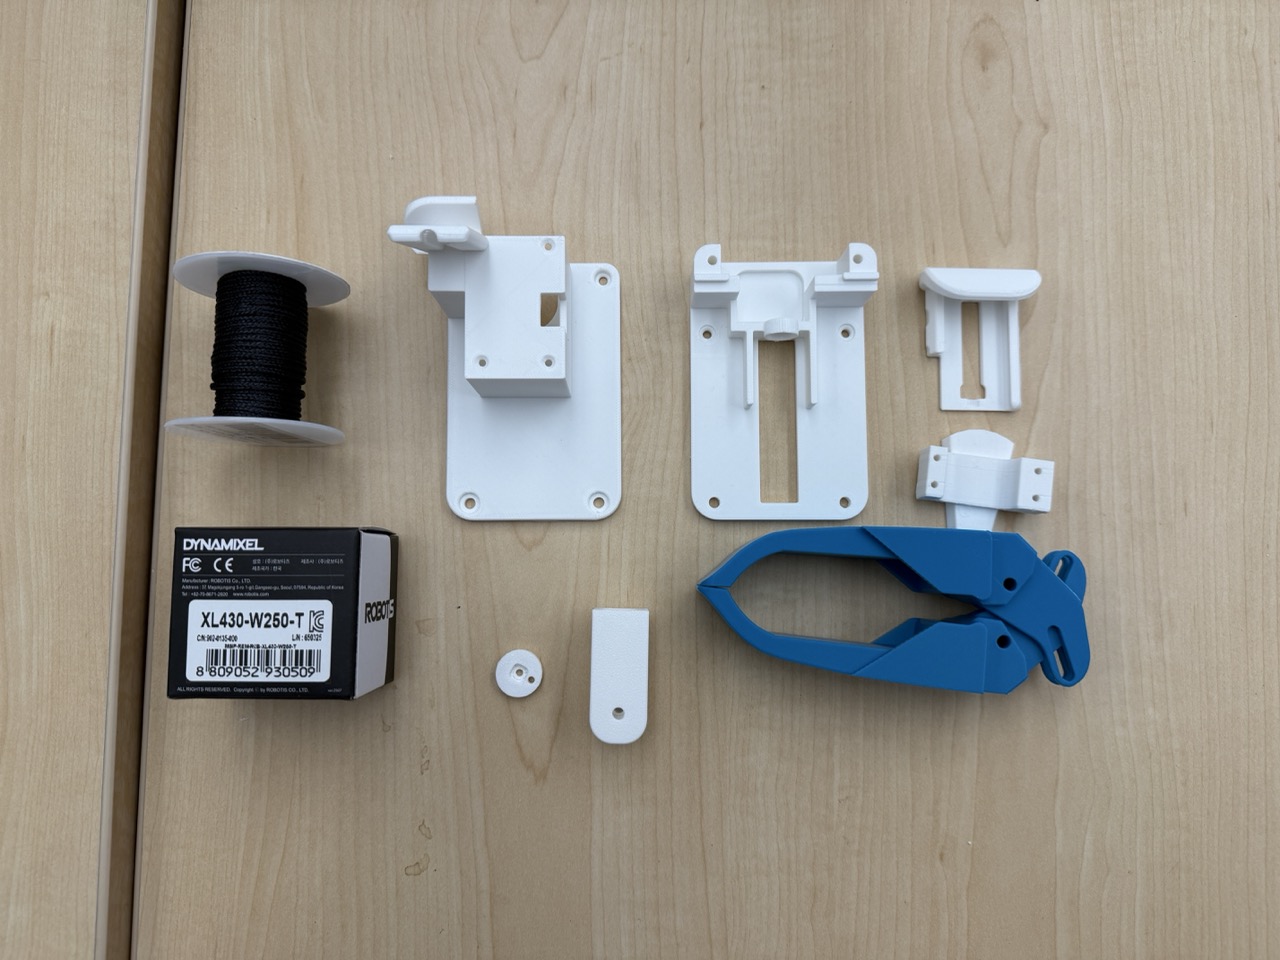
Step 1: You'll also need the spring and 3D-printed Dynamixel horn attachment (not pictured).
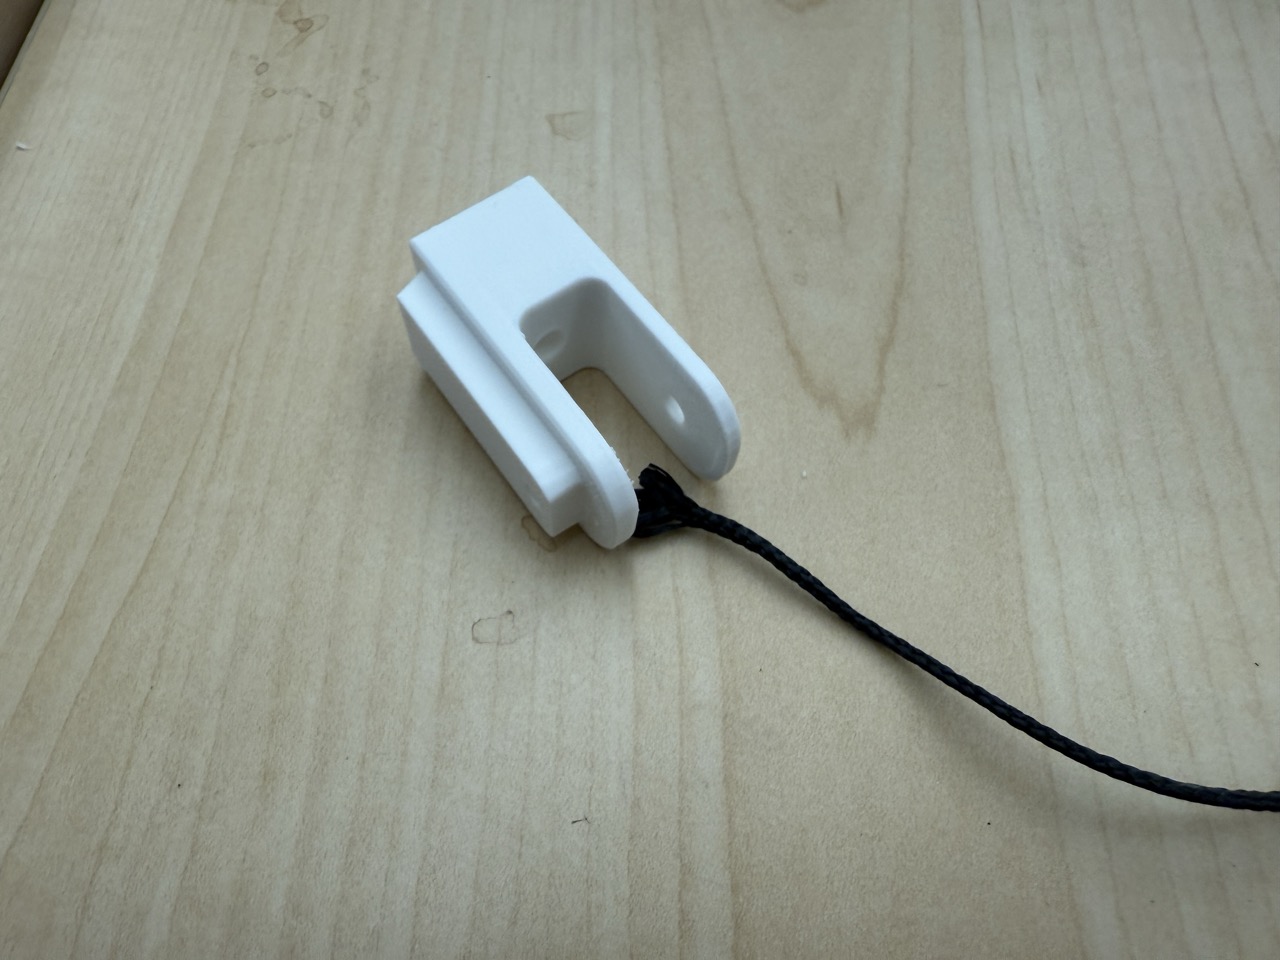
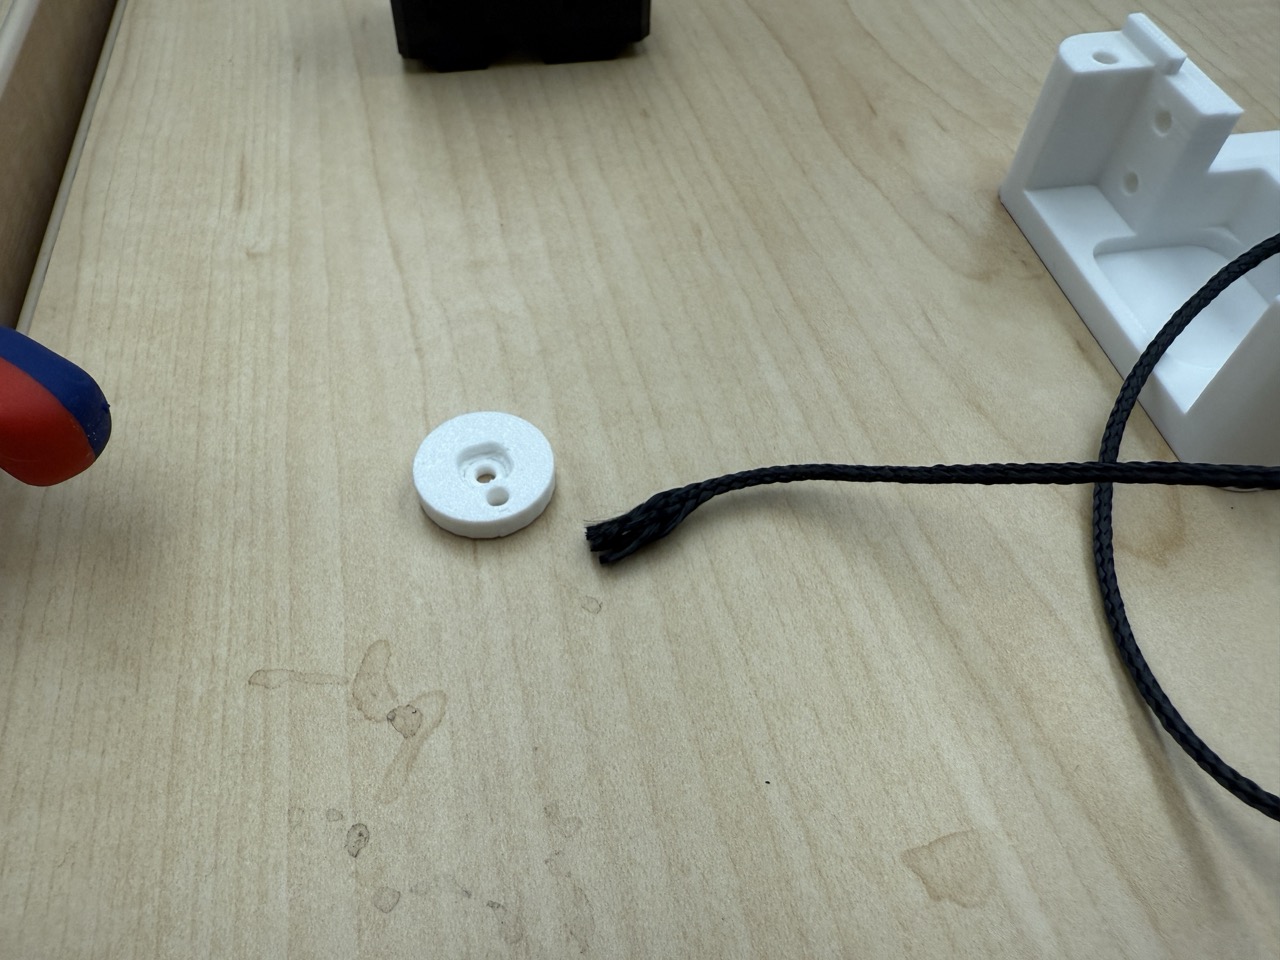
Step 2: Take the string finger connector and ~20 cm Kevlar string.
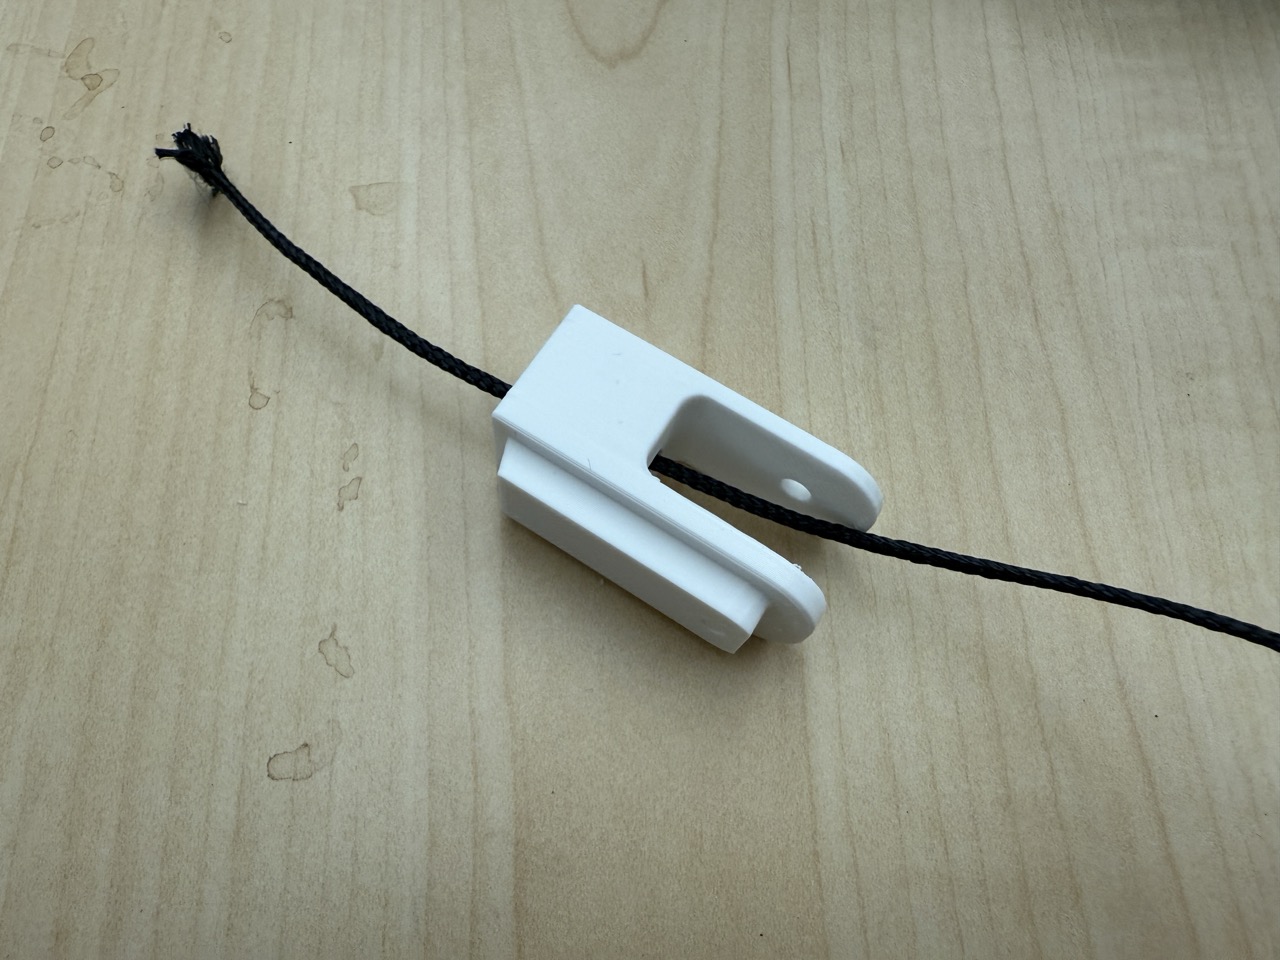
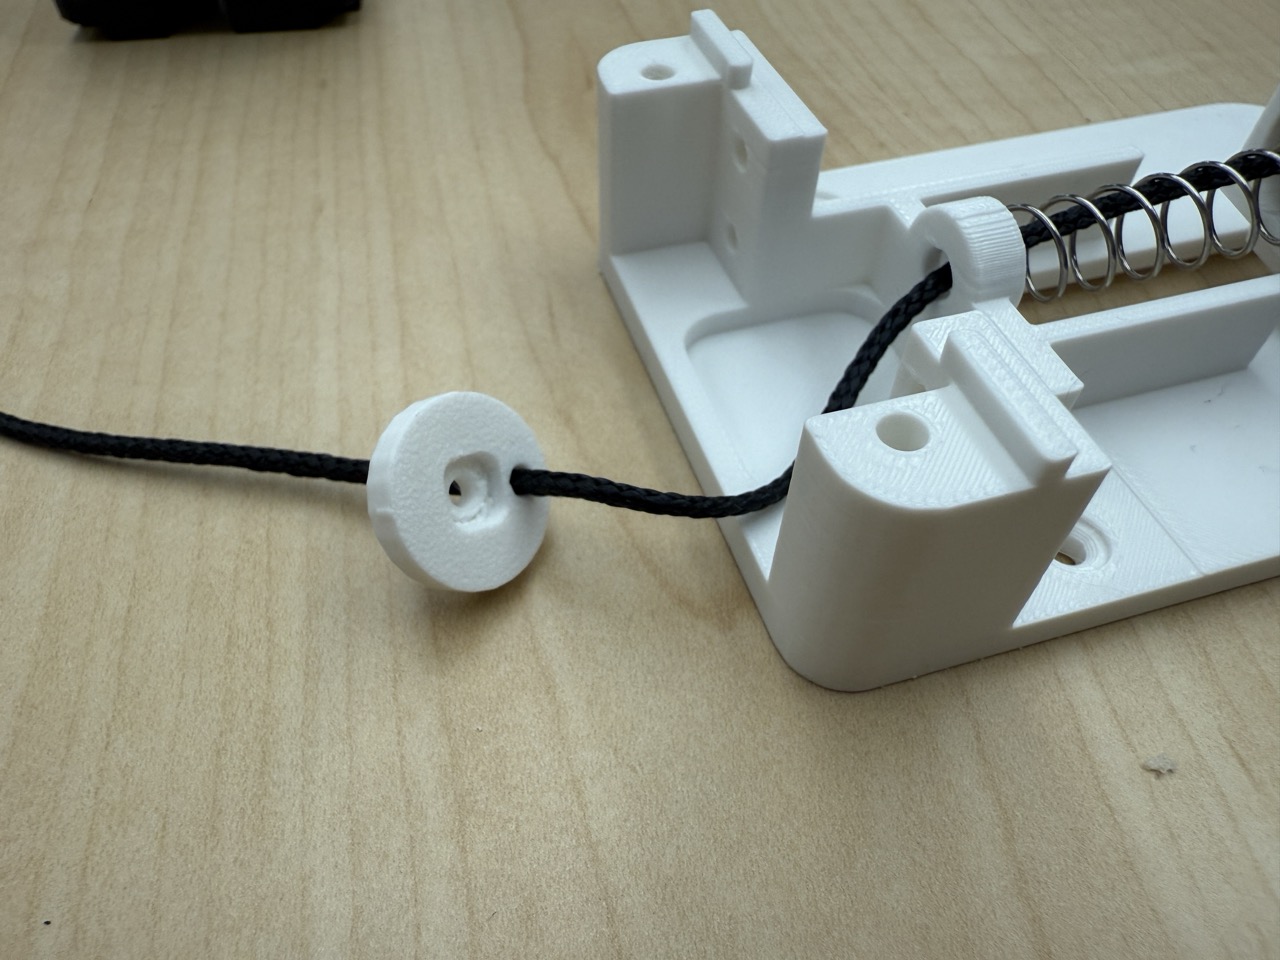
Step 3: Insert the string into the connector.
Step 4: See reference image for routing.
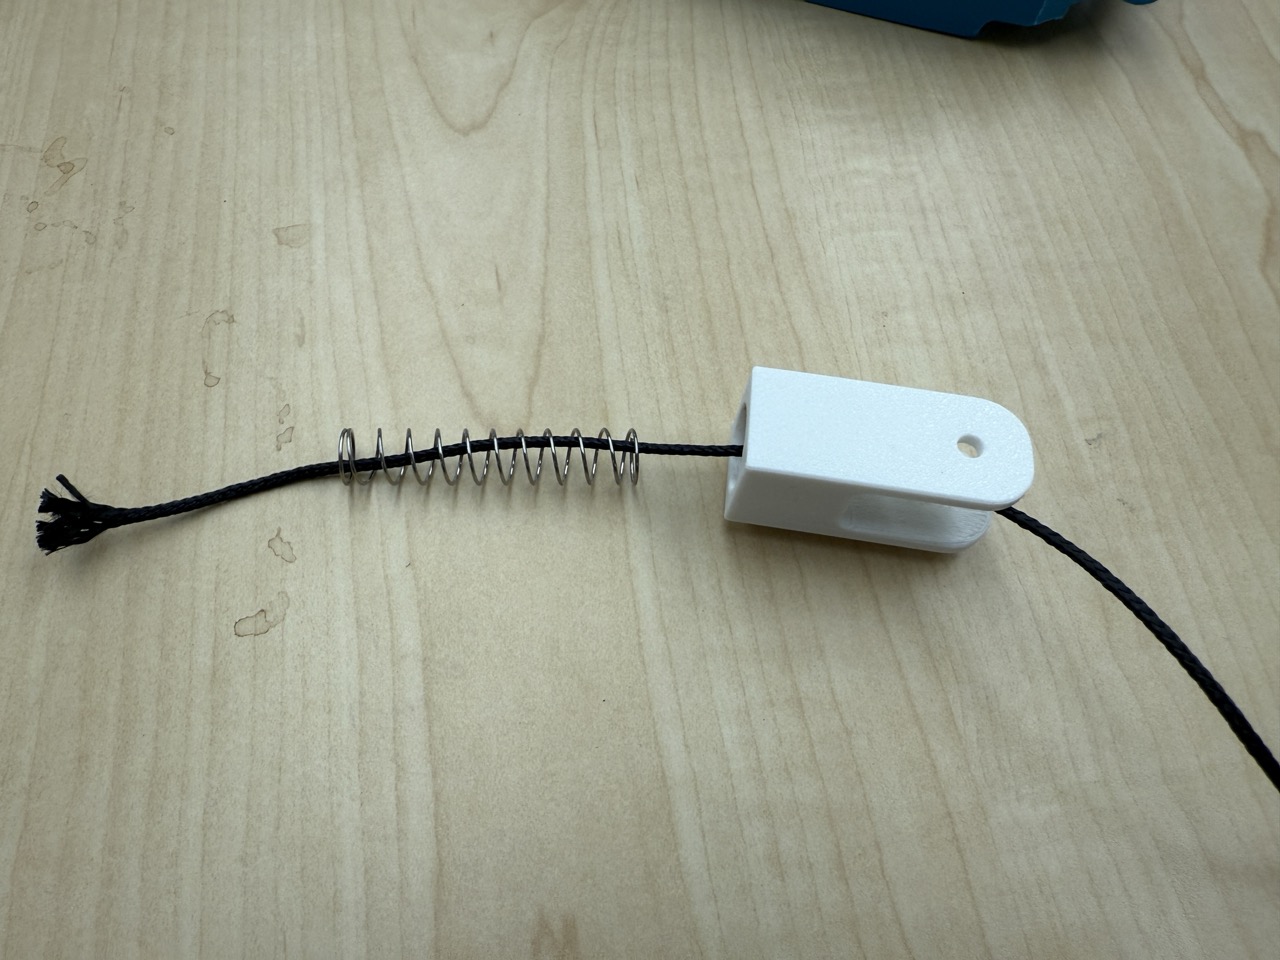
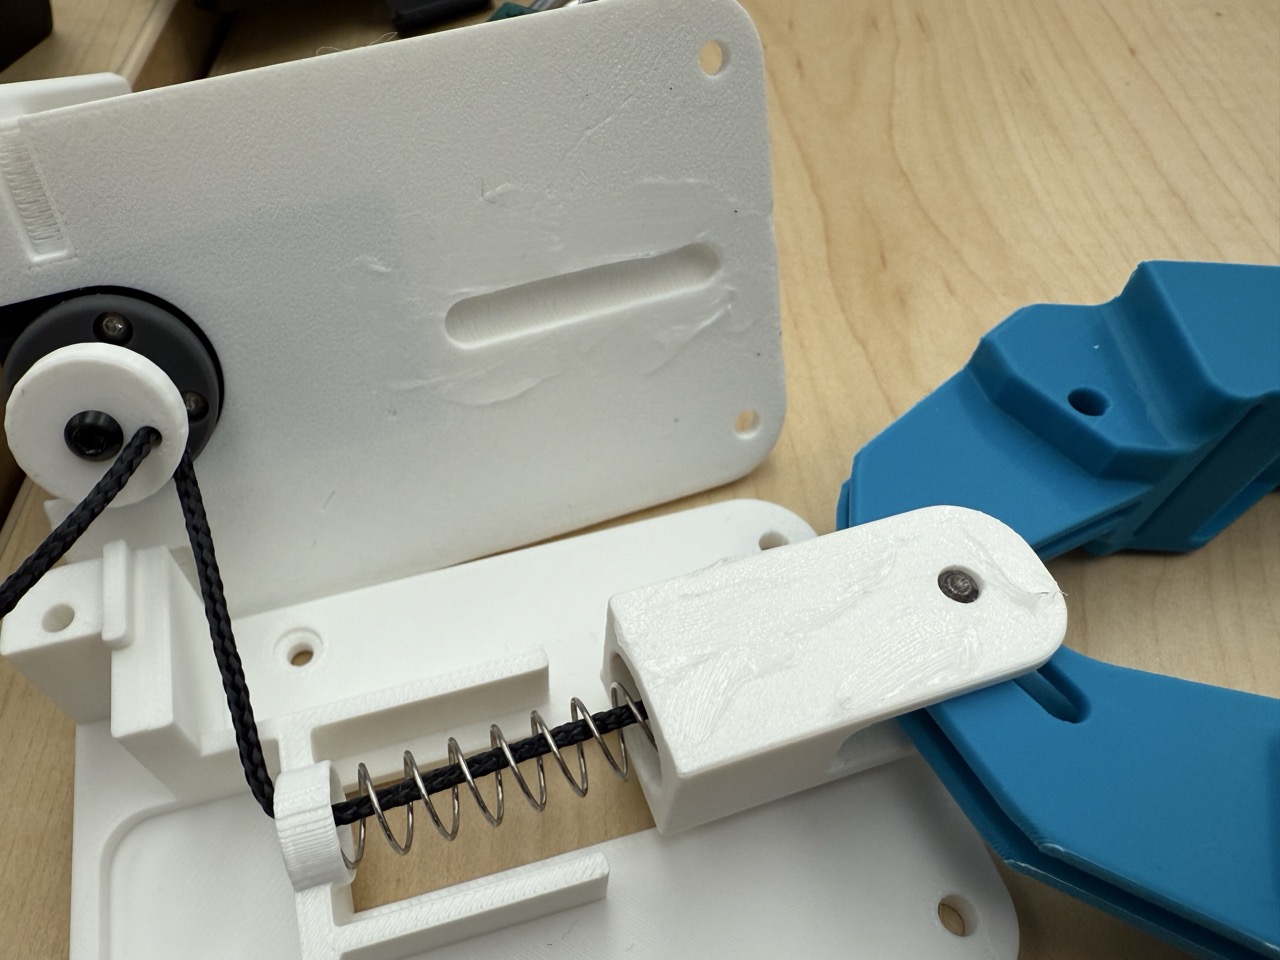
Step 5: Slide the spring onto the string from the side opposite the dowel pin.

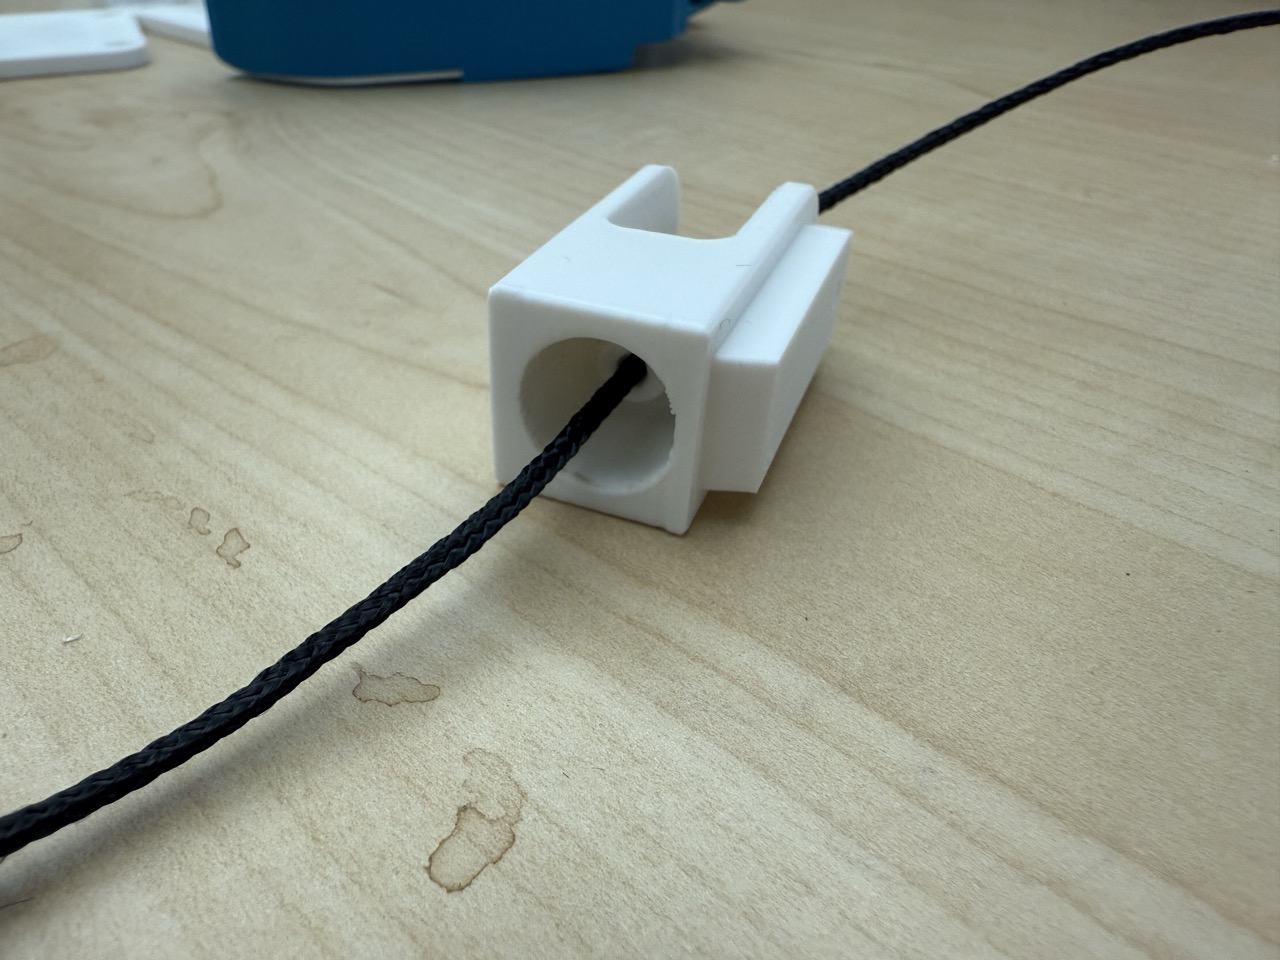
Step 6: Feed the string through the spring holder in the bottom plate.
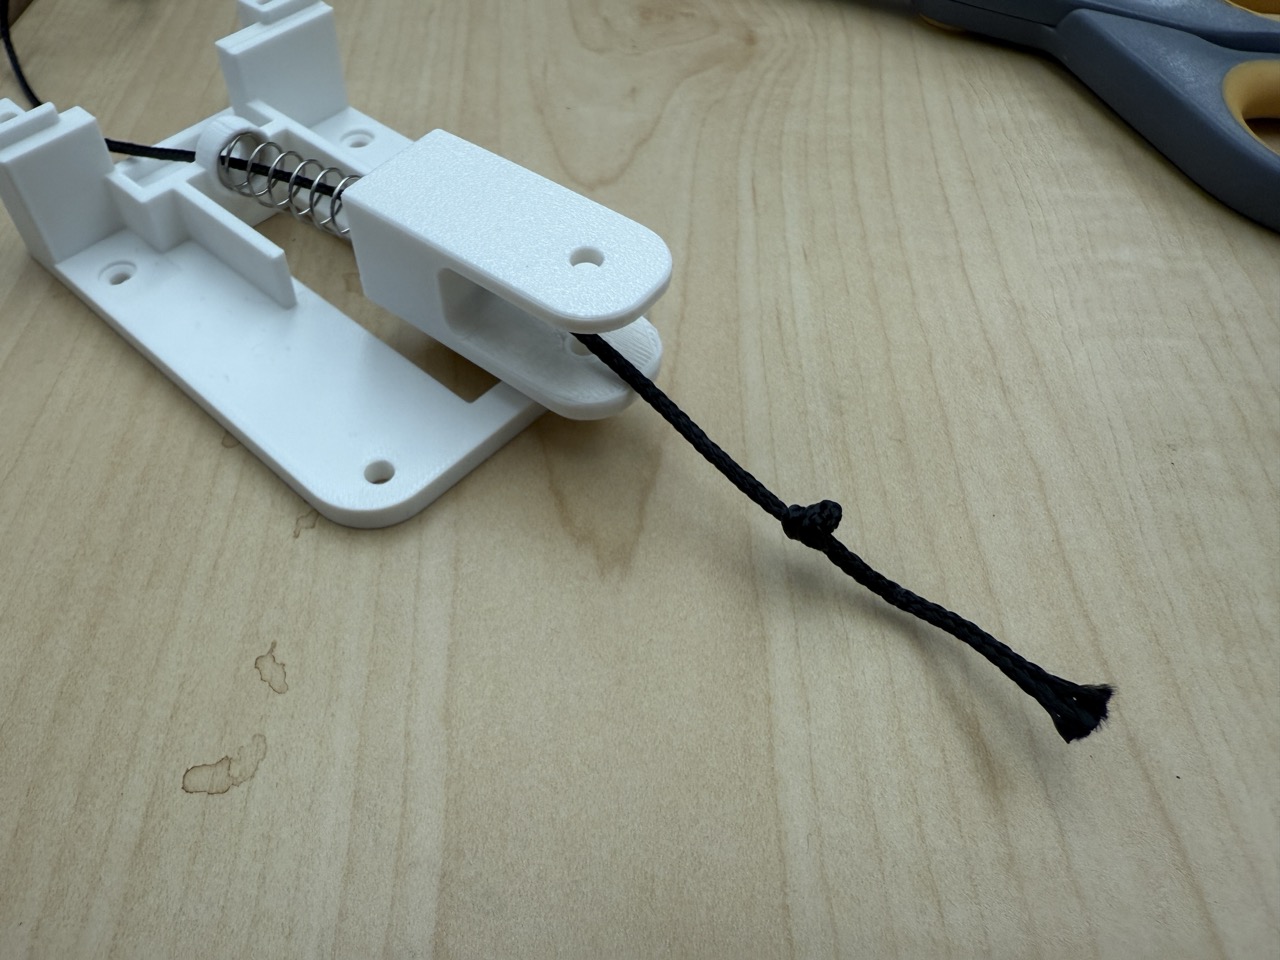
Step 7: Tie a double knot on the string on the dowel side.
Step 8: Trim the excess string.
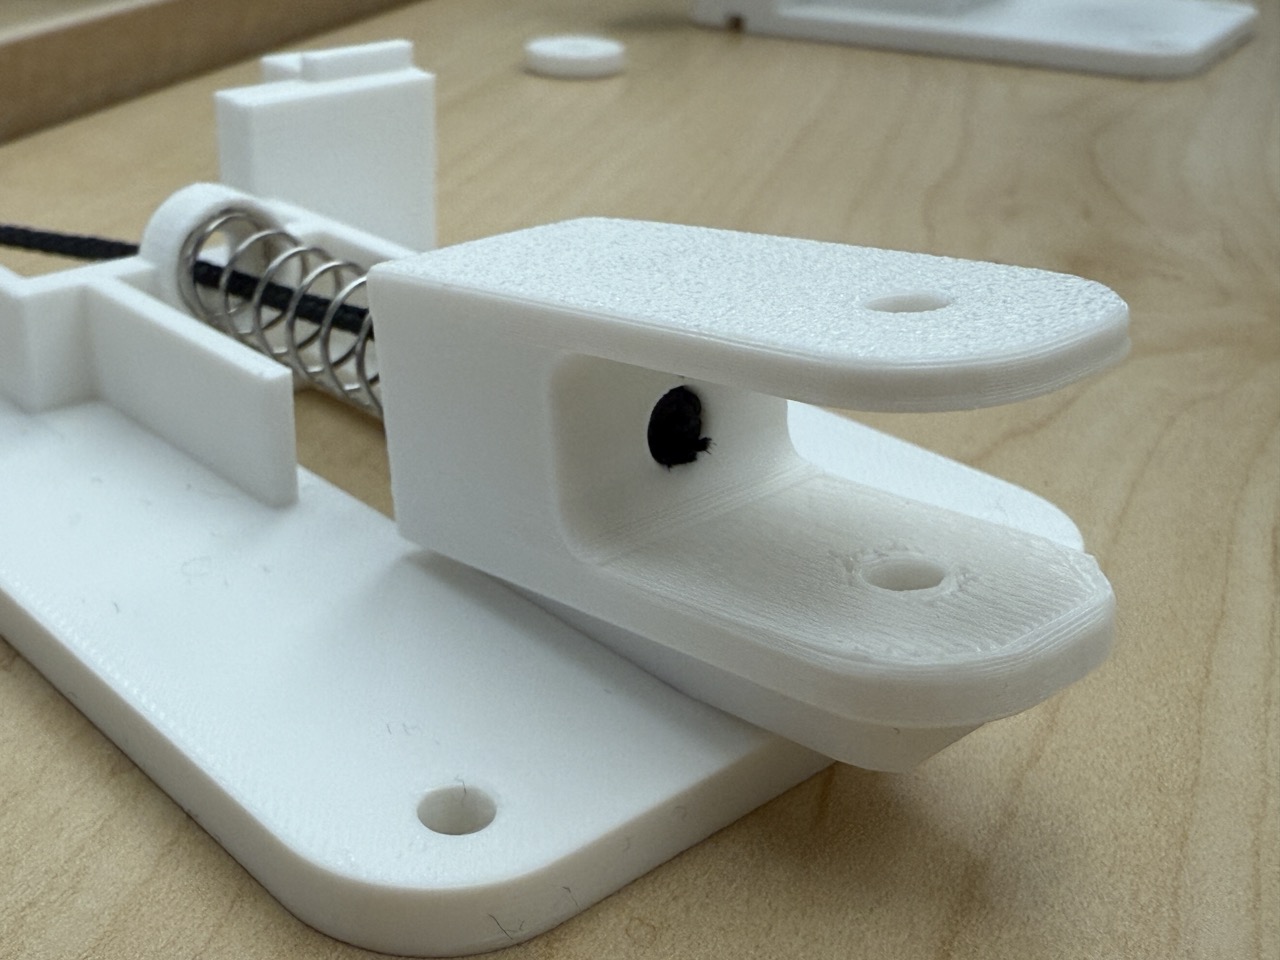
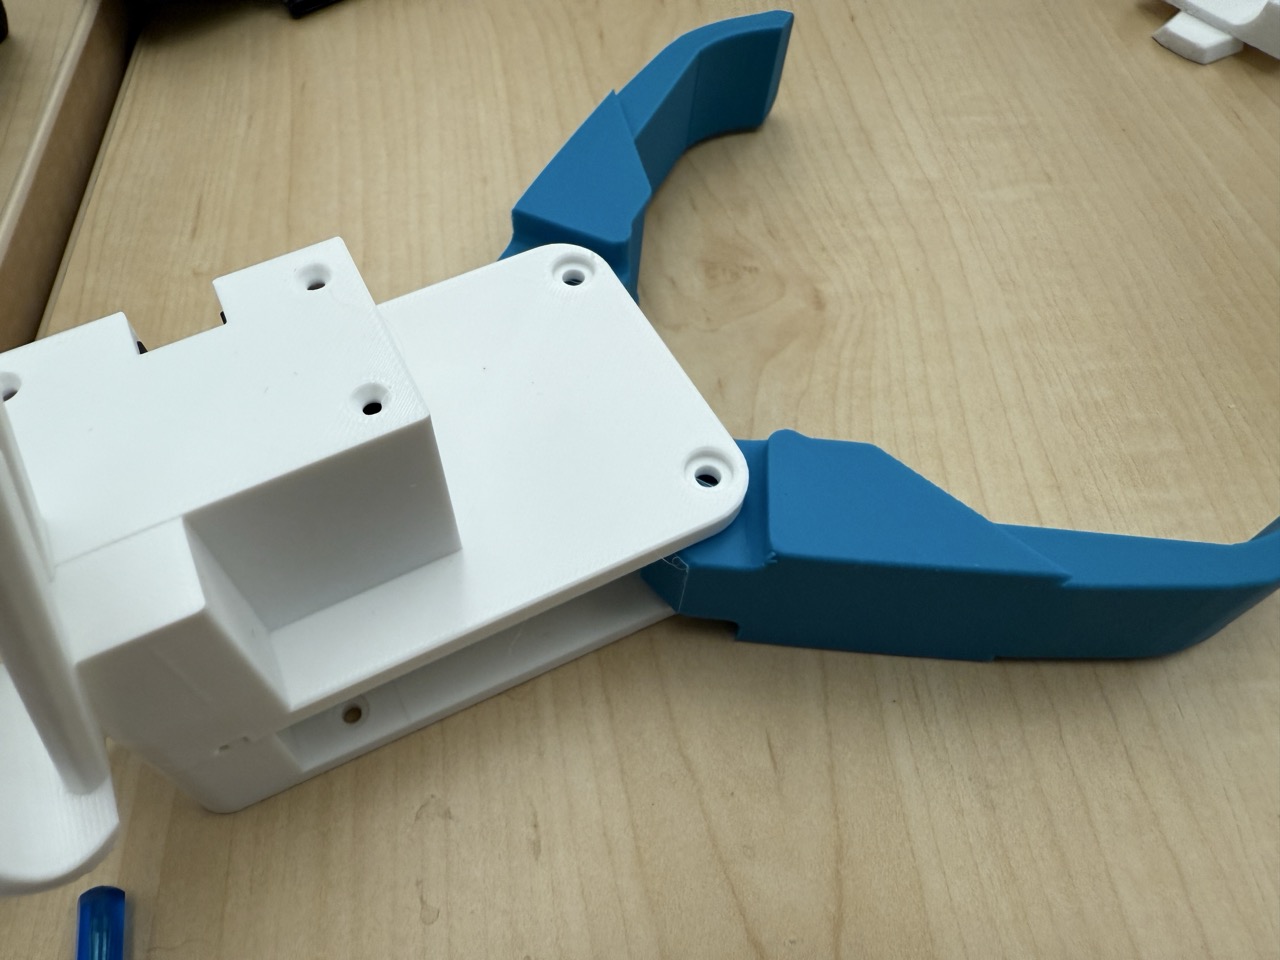
Step 9: Add both fingers; align the finger slot with the dowel hole.
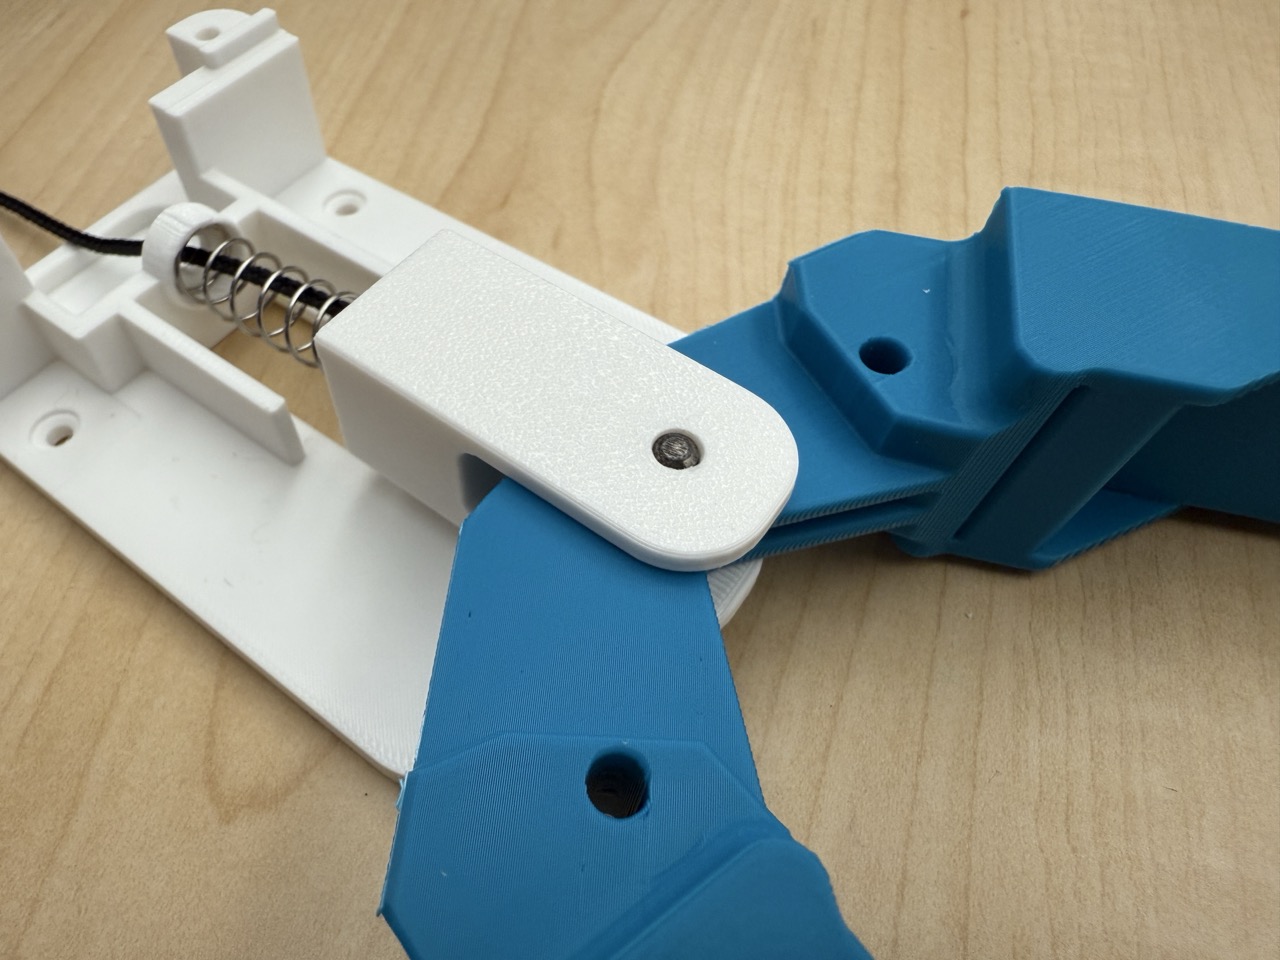
Step 10: Insert the dowel pin.
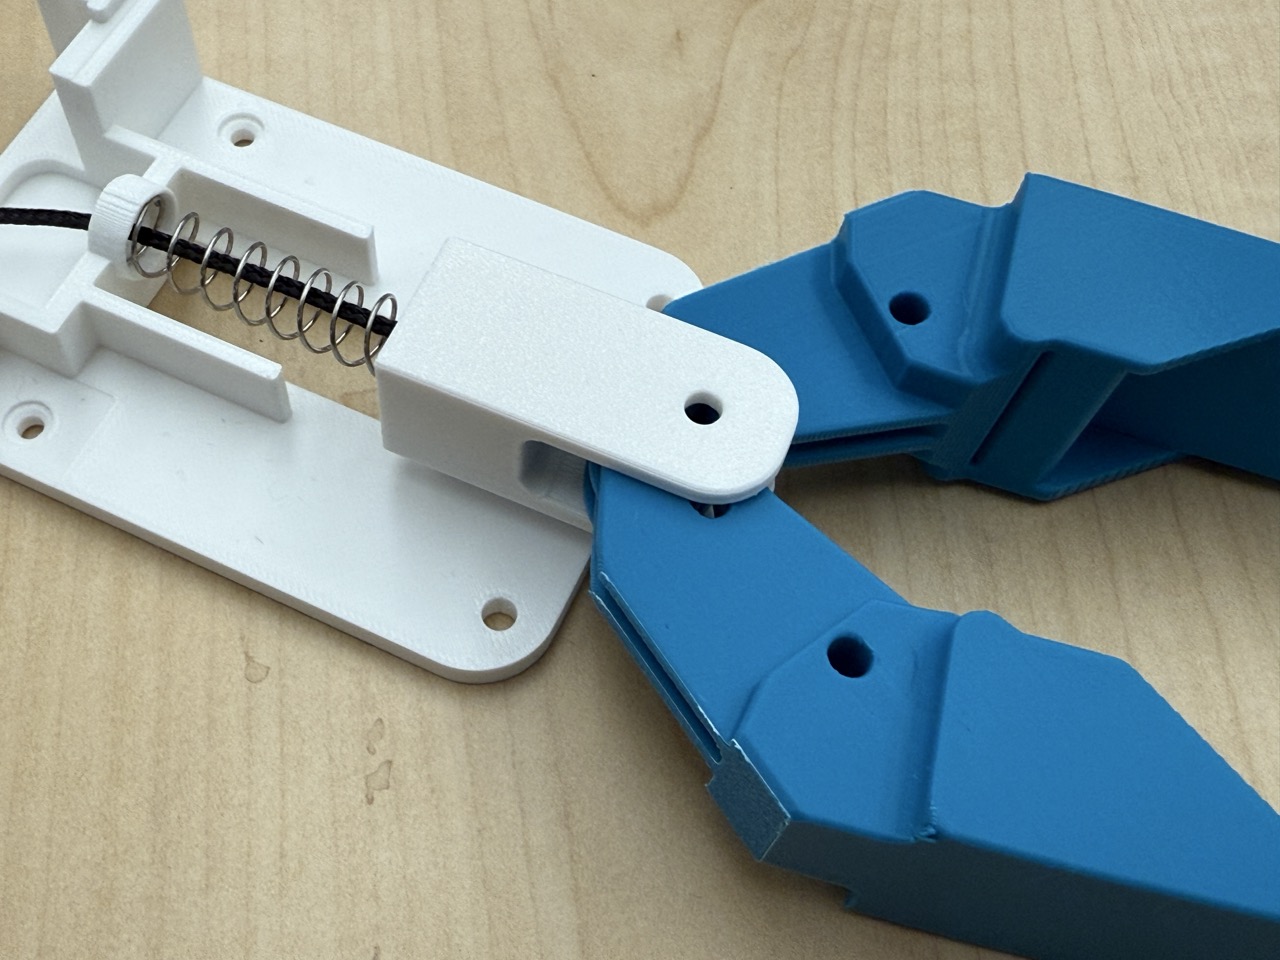
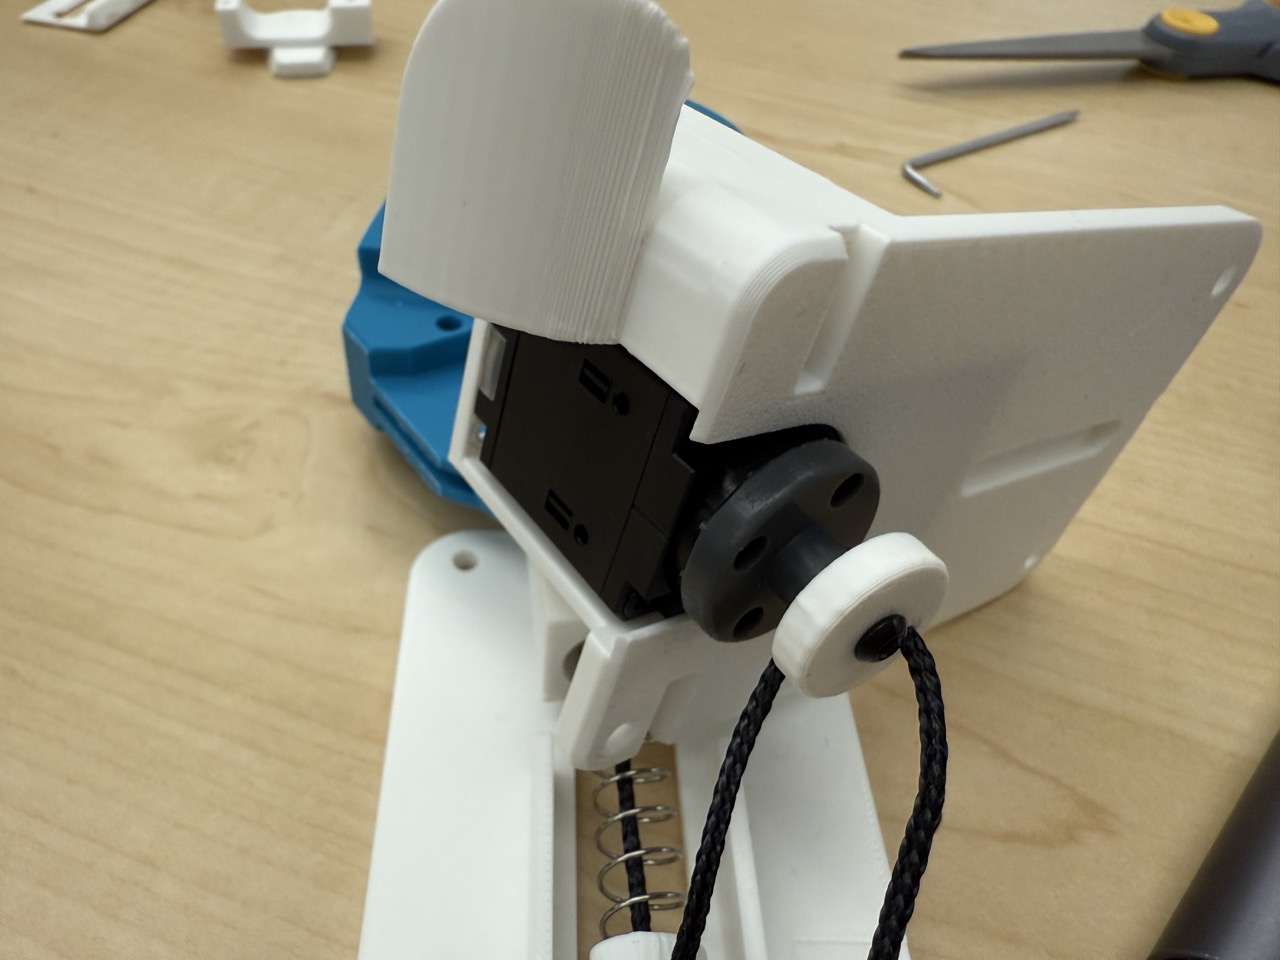
Step 11: Prepare the gripper motor attachment.
Step 12: Route the string through the side with the recessed hole.
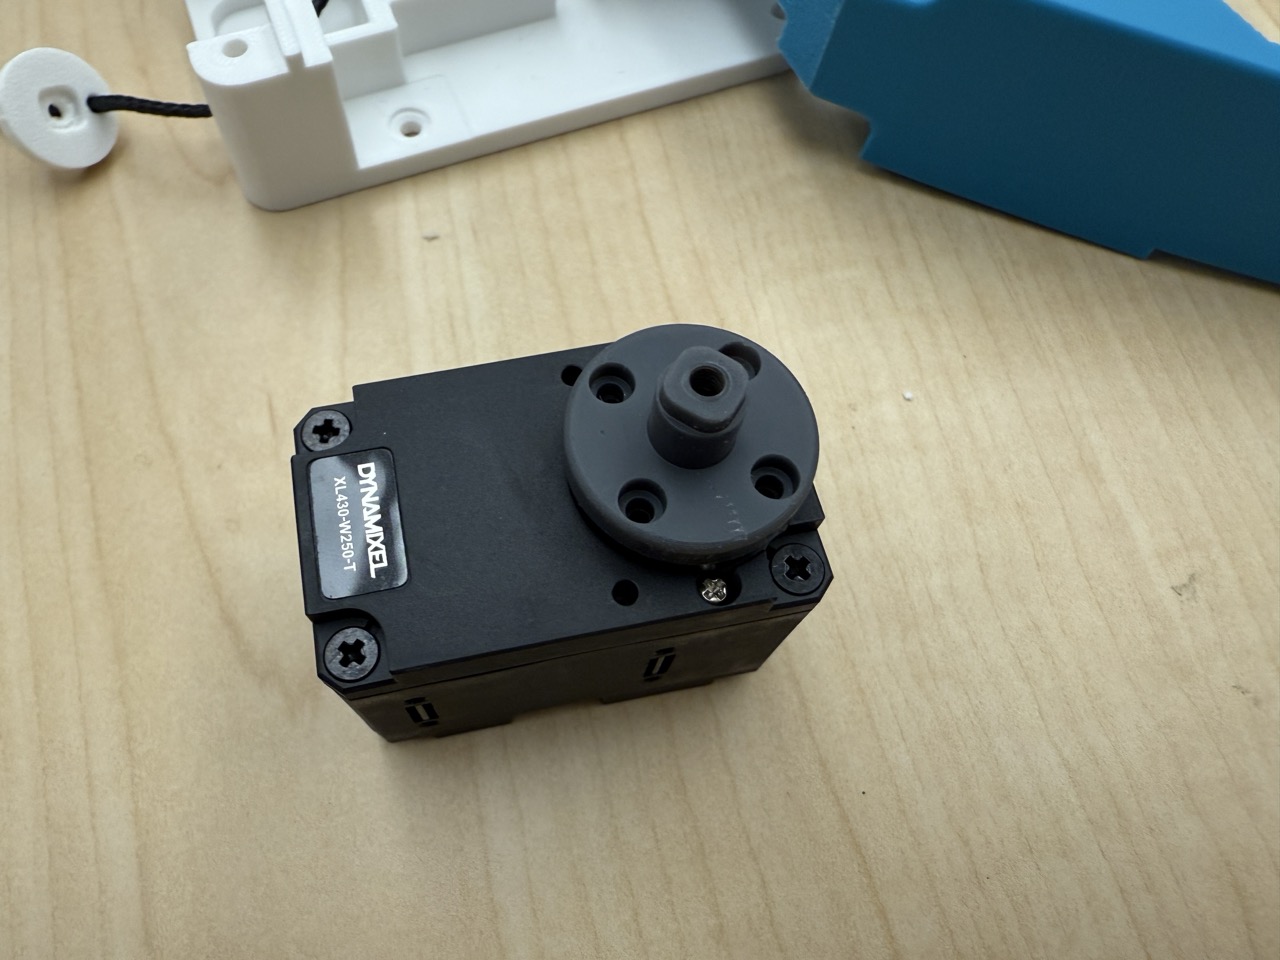
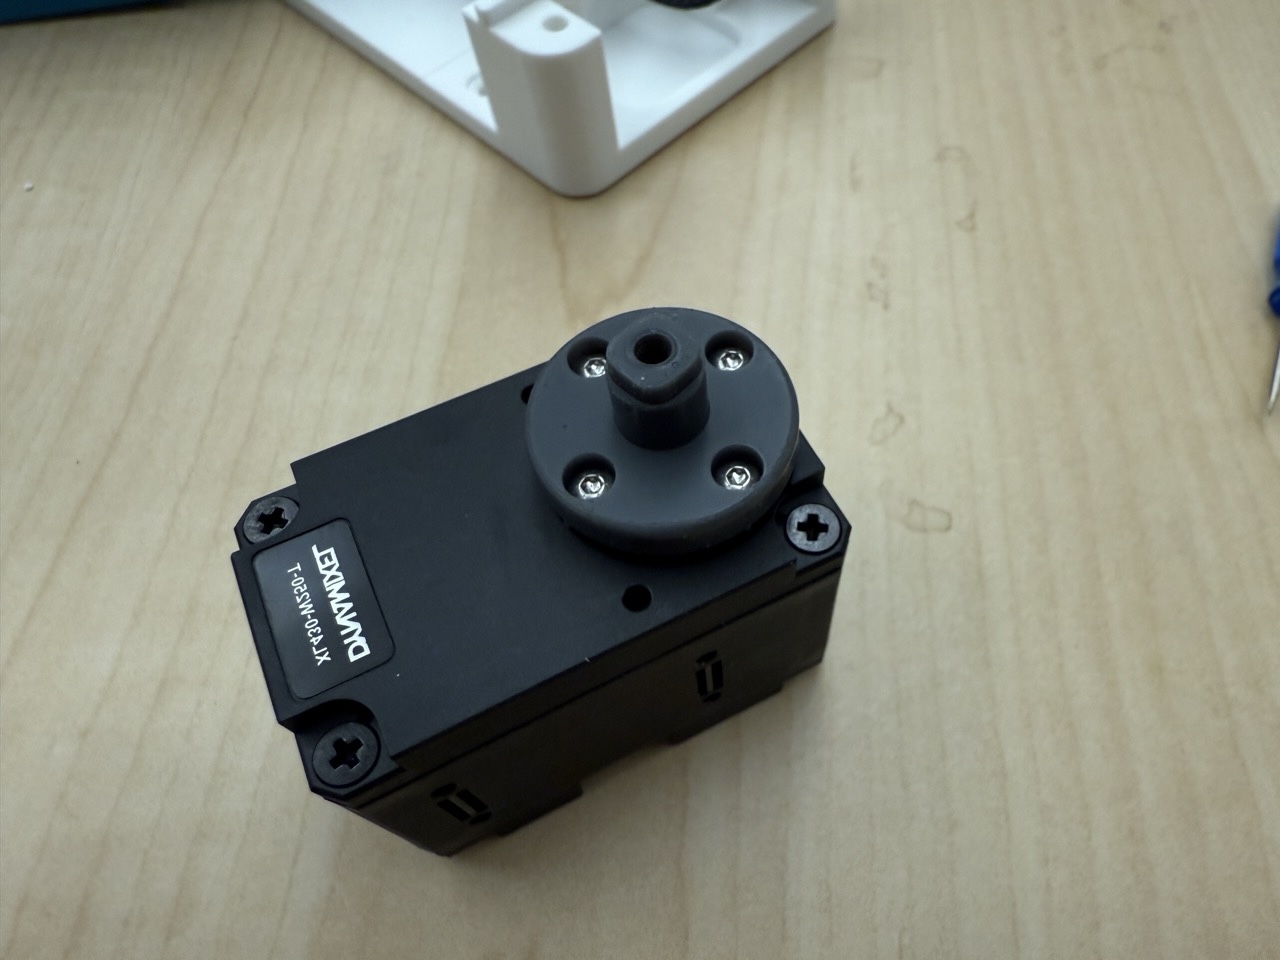
Step 13: Get the Dynamixel motor.
Step 14: Attach the motor horn to the motor.
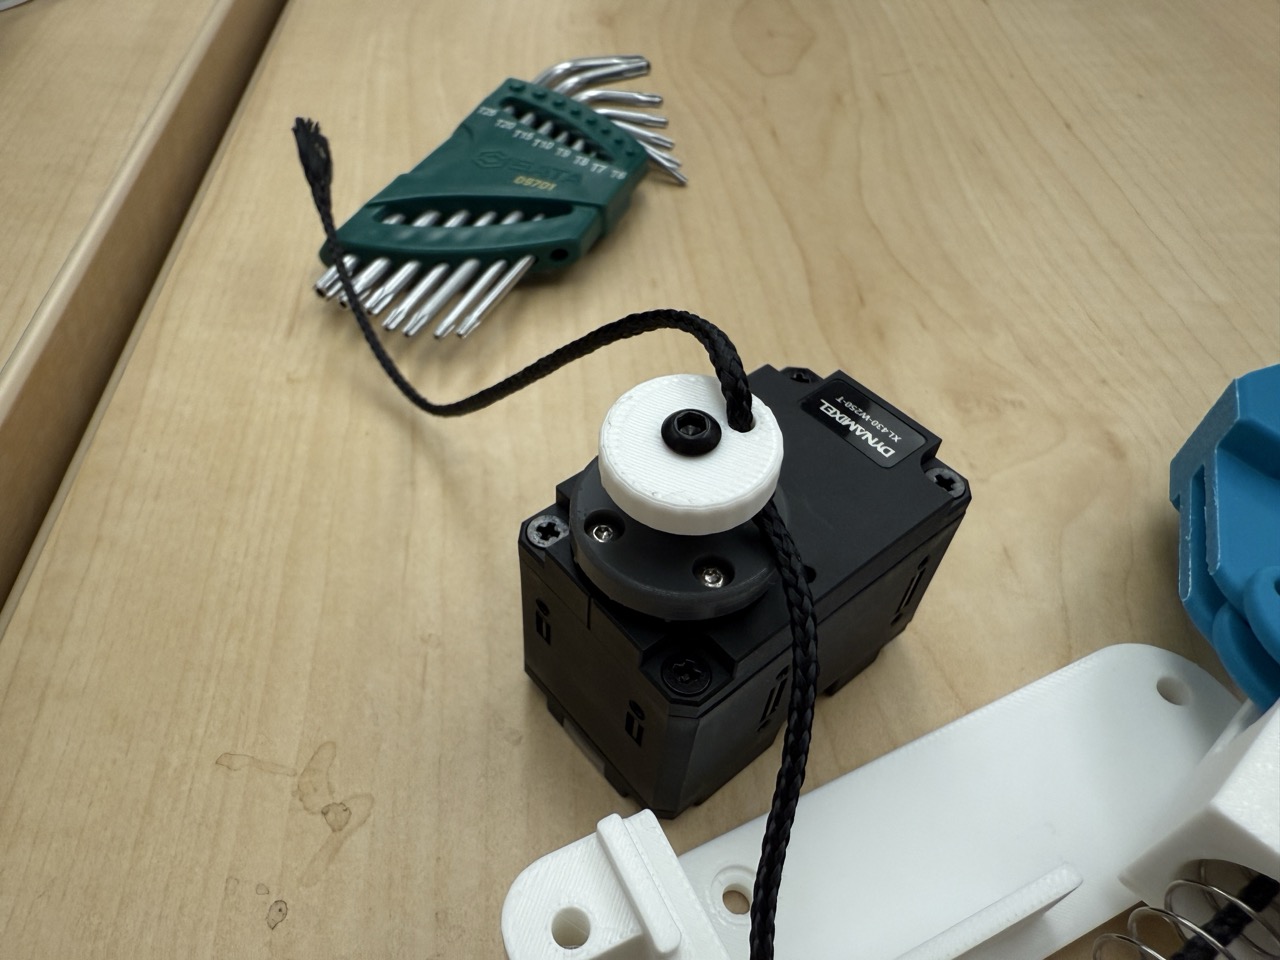
Step 15: Mount the gripper motor attachment and fasten to the horn with a self-tapping screw.
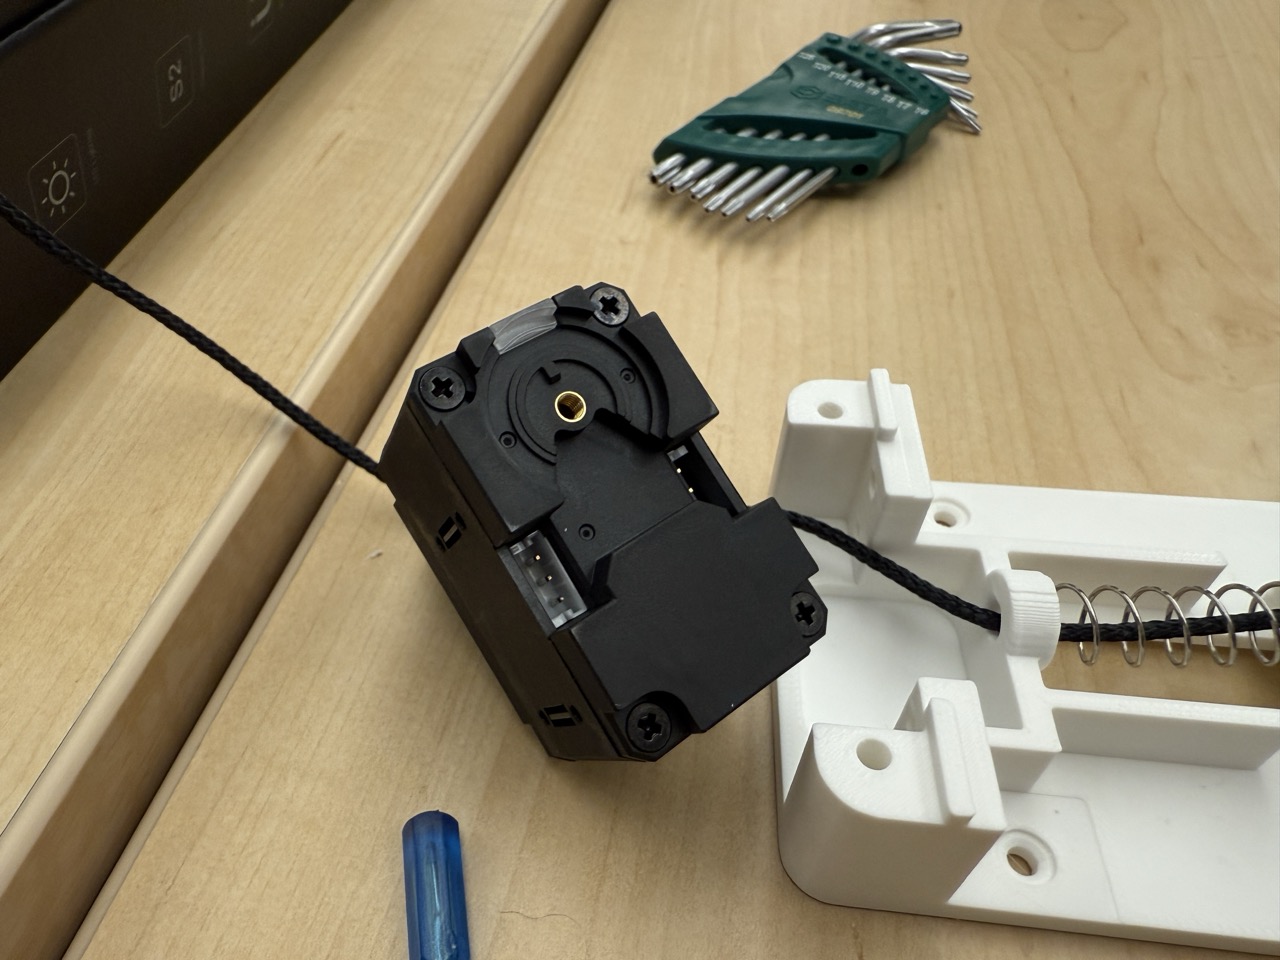
Step 16: Flip the motor to expose the four back screws.
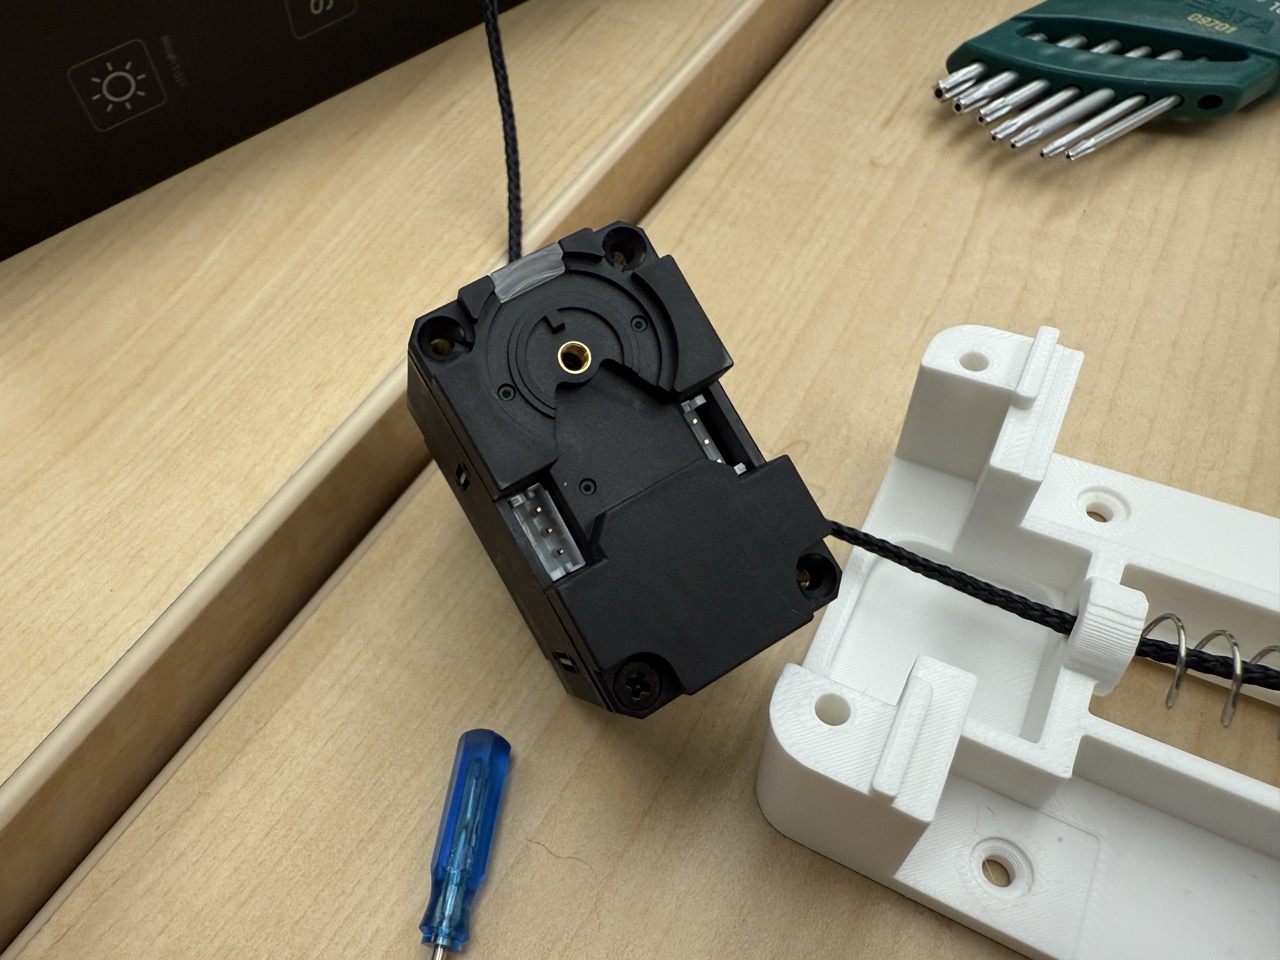
Step 17: Remove the top-left, top-right, and bottom-left screws.
Step 18: Insert the motor into the top plate.
Step 19: Apply lubricant to the top plate and finger attachment.
Step 20: Close the top plate.
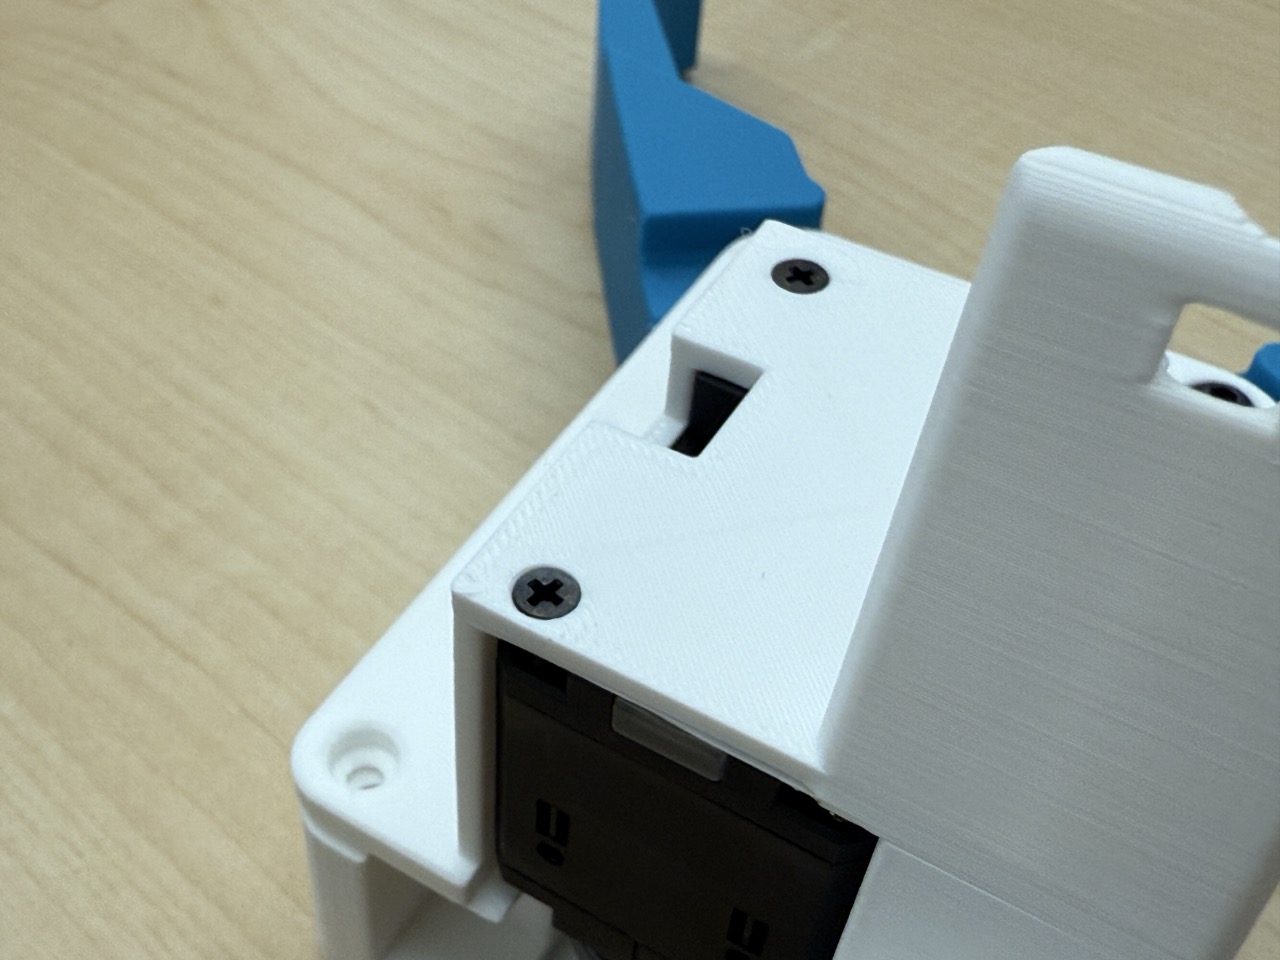
Step 21: Insert the M4x35 screws through the finger.
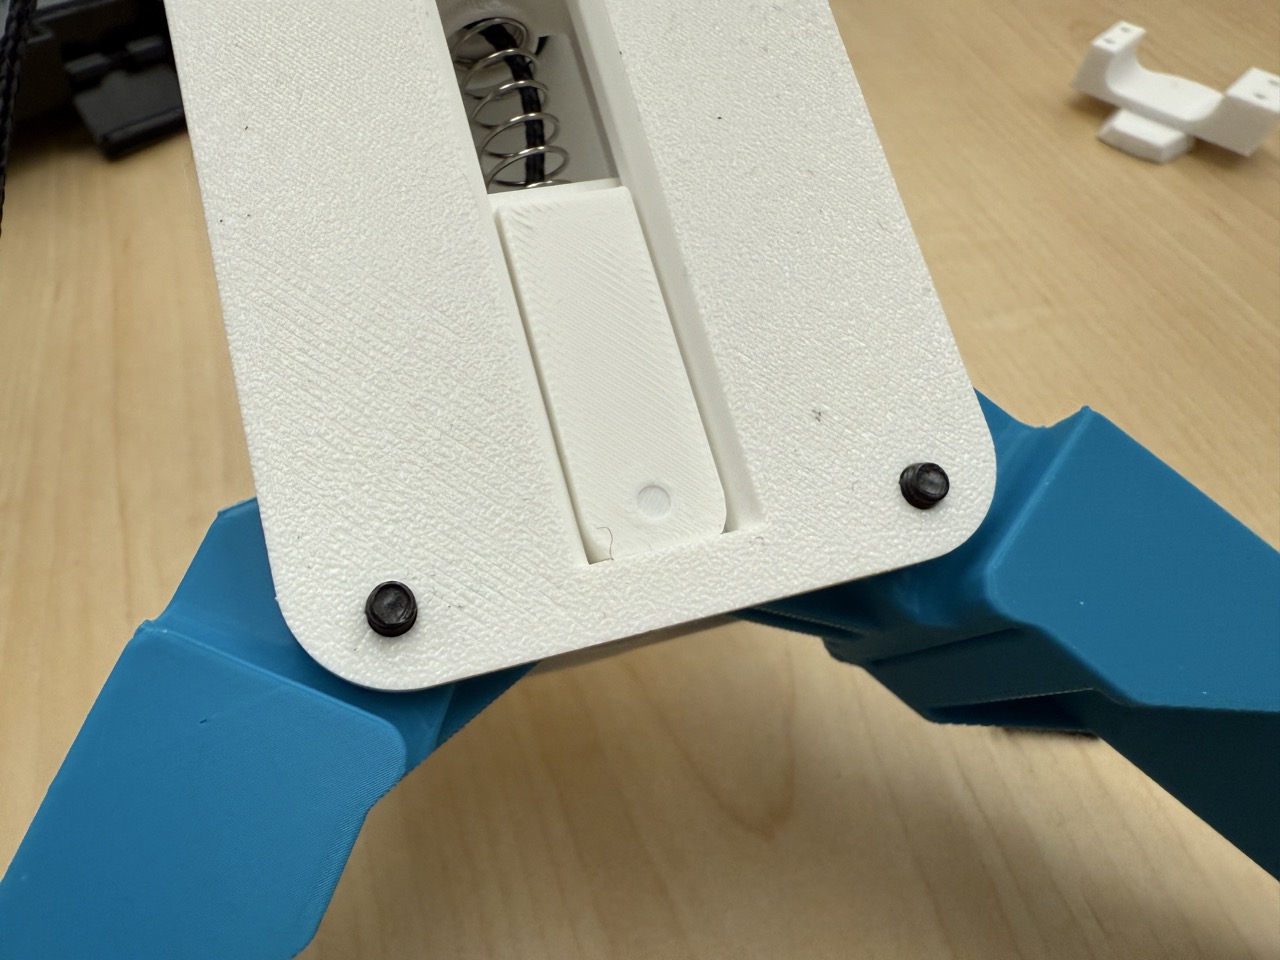
Step 22: Bottom view (for reference).
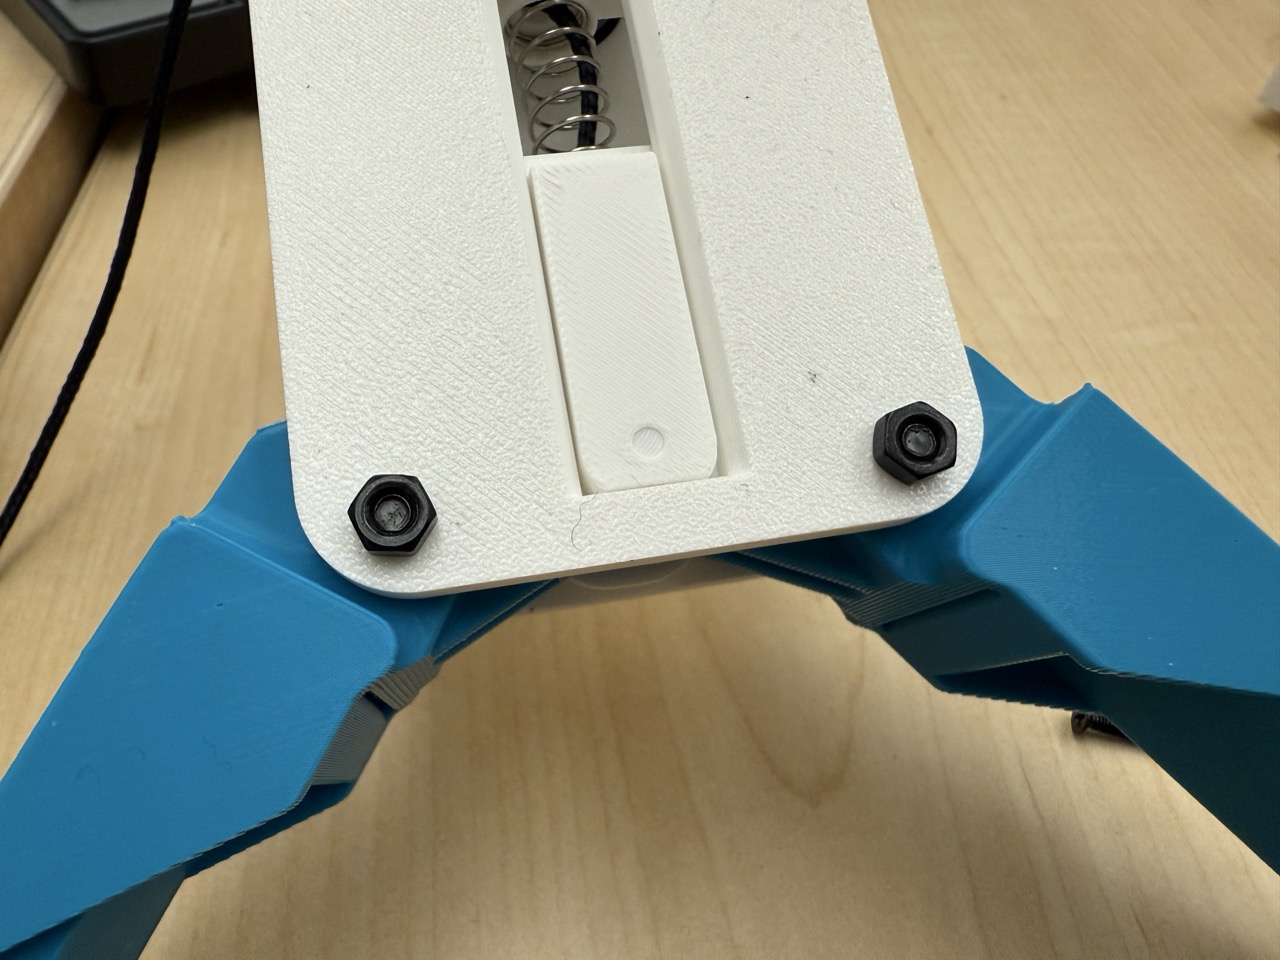
Step 23: Install nuts on the opposite side.
Step 24: Insert the M3 screw securing the motor.

Step 25: See reference image.

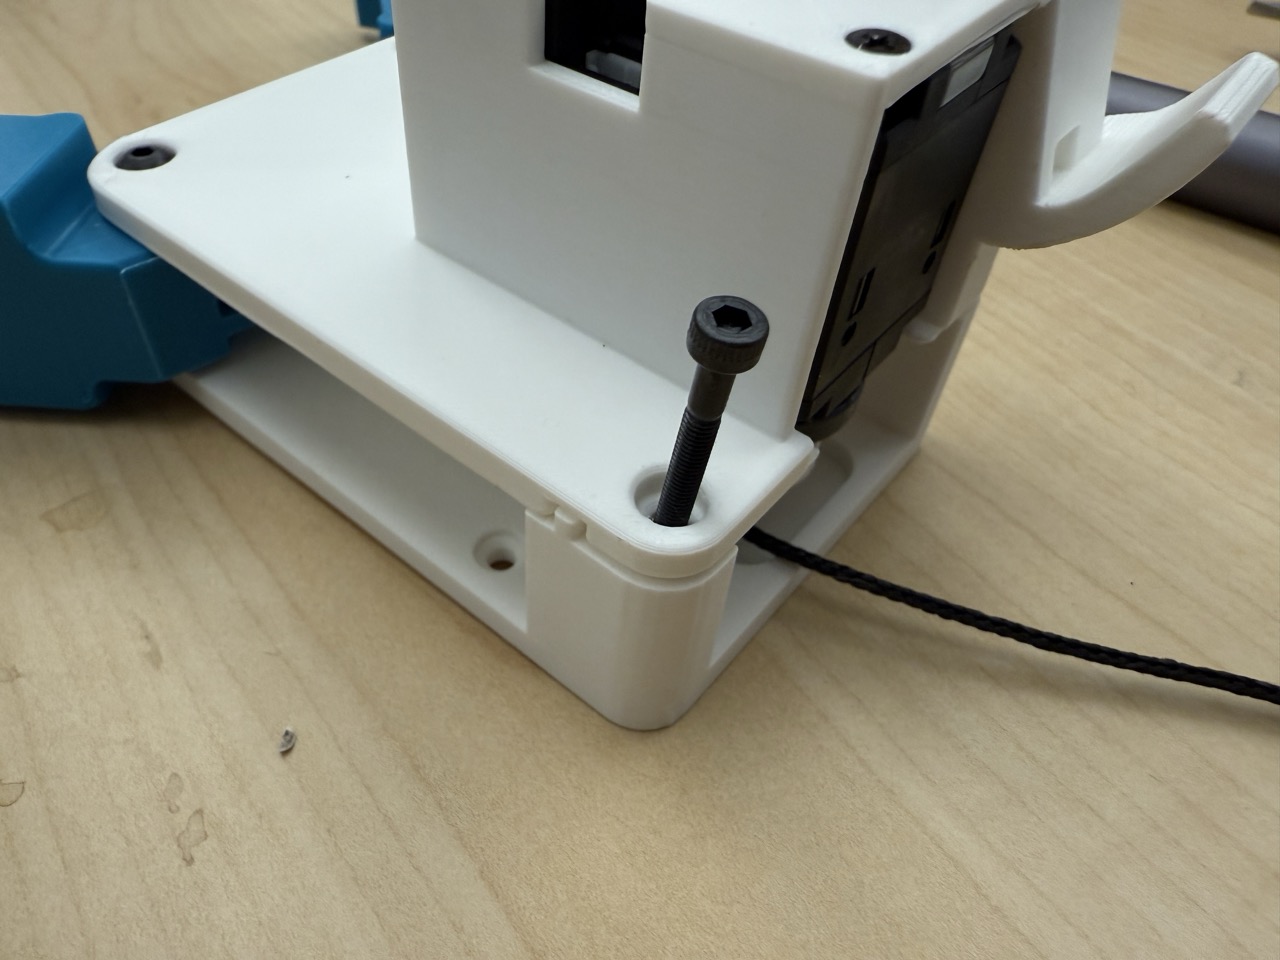
Step 26: Place the nut on the opposite side.
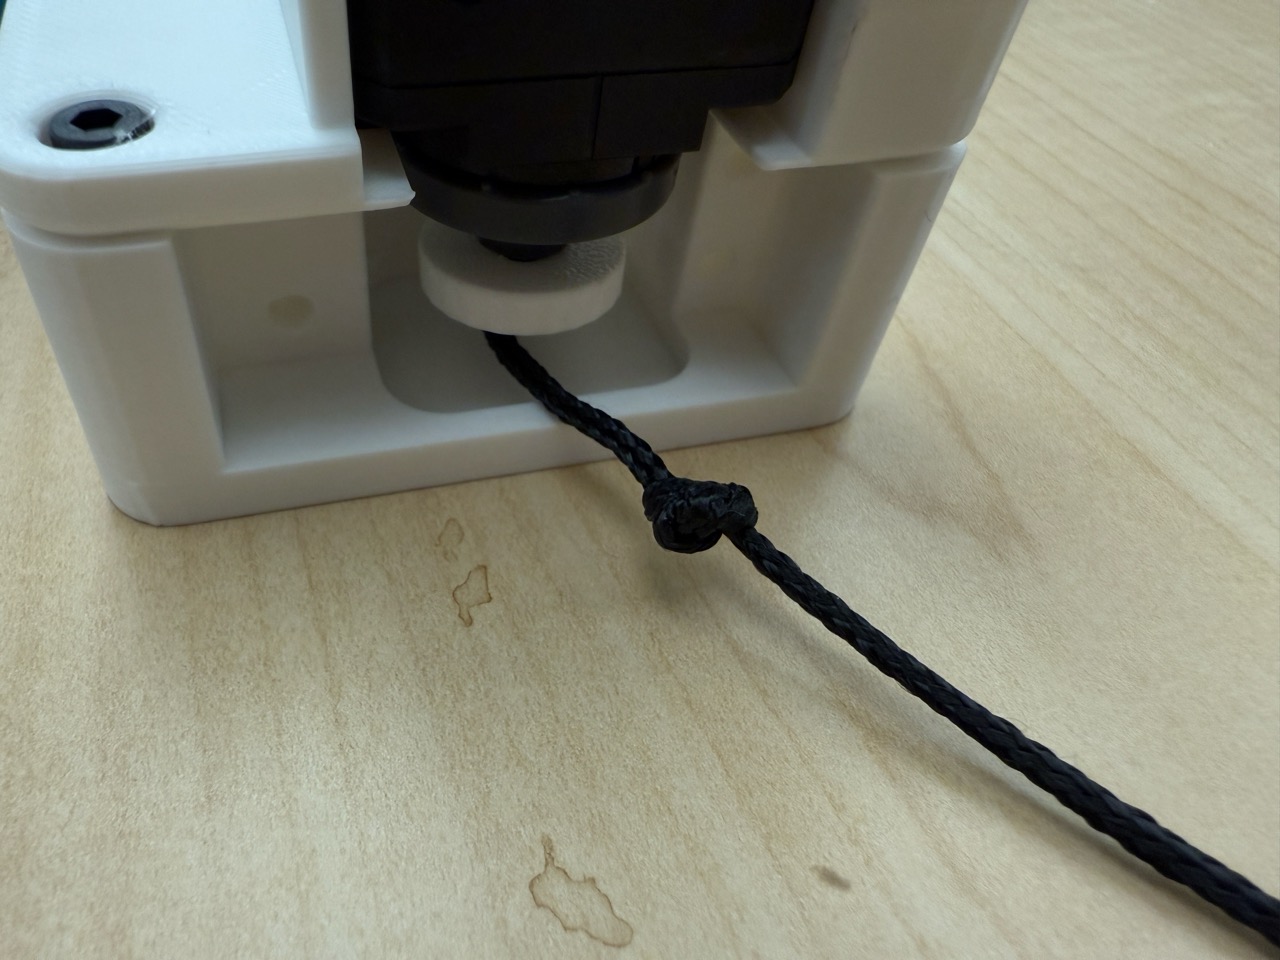
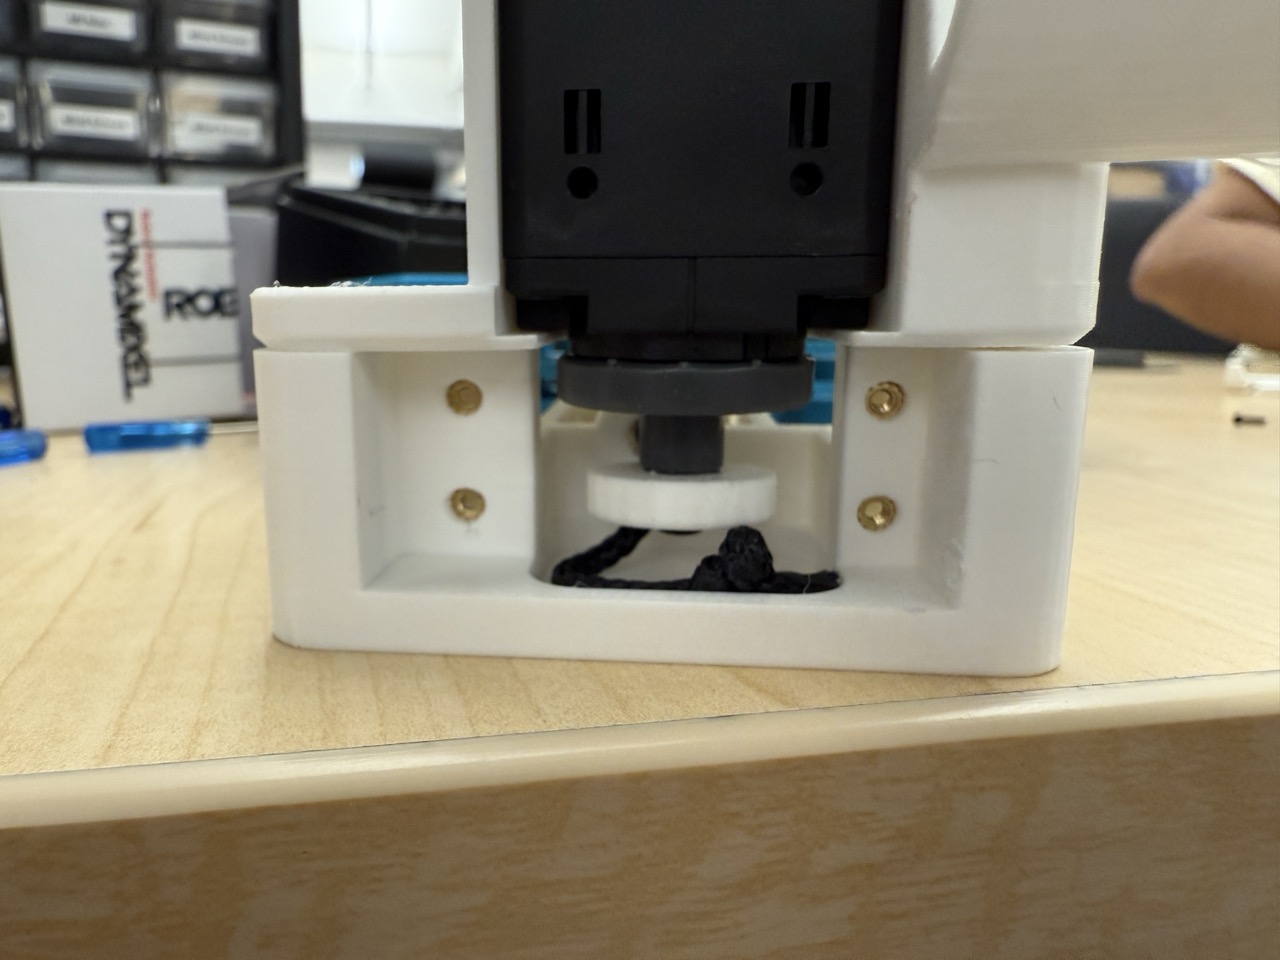
Step 27: Tie a double knot on the string exiting the back of the motor.
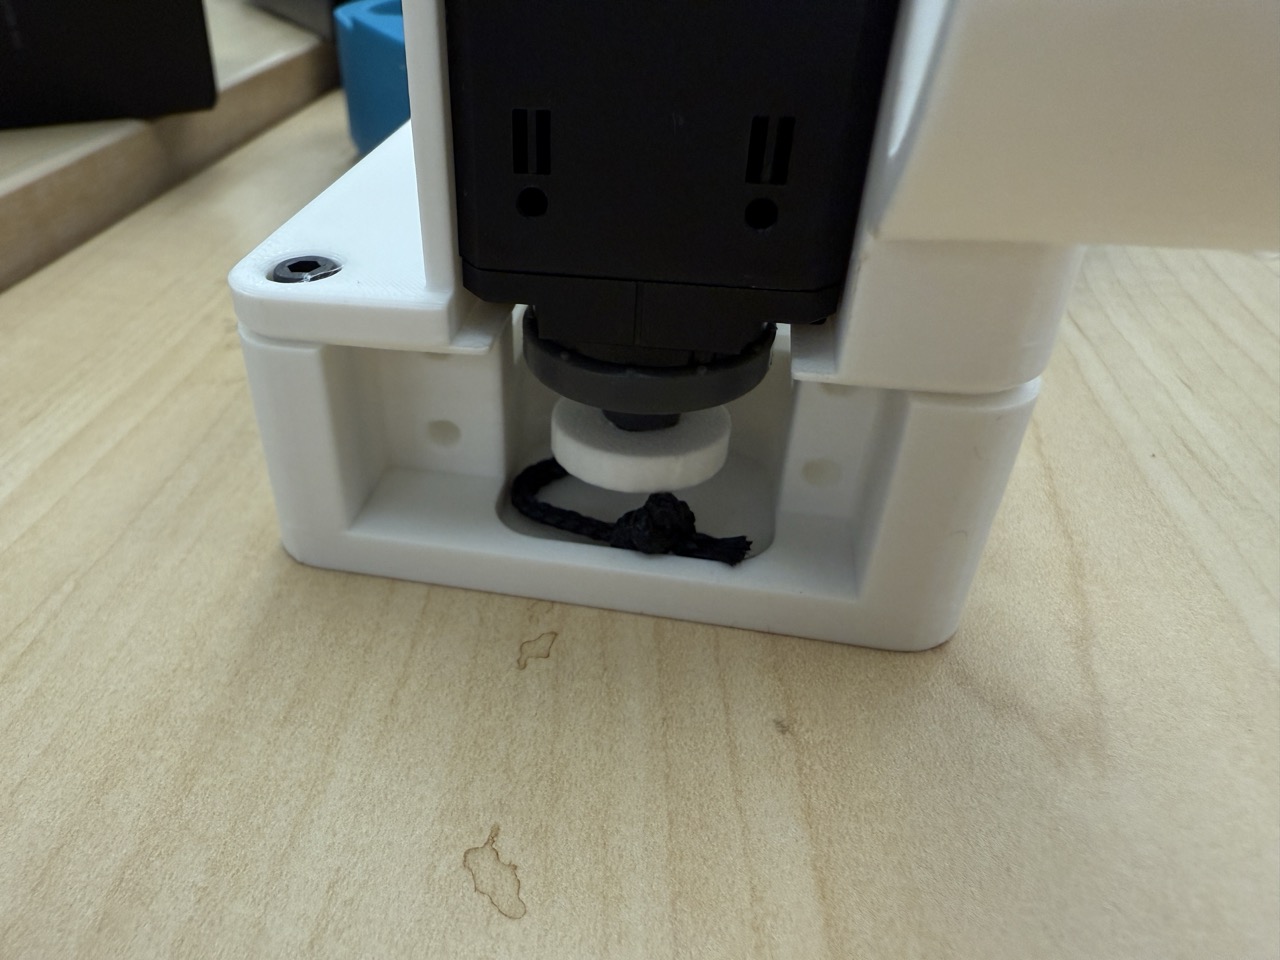
Step 28: Cut the string to length—do not leave excess.
Step 29: Install four M2.5 heat-set inserts into the back of the bottom plate.